Introduction to Energy Cubes
Energy Cubes is an activity in which students use small cubes to represent “chunks” of energy. Designated regions on a whiteboard represent objects of interest. Groups of students move and flip these cubes on the whiteboard to dynamically represent the transfer(s) and/or transformation(s) of energy associated with specific scenarios.
Energy Cubes encourages learners to express their thinking about energy with their hands and provides learners with a tangible and dynamic representation of energy conservation. The sequence of activities that follows provides an opportunity for students to explore the concepts of energy transfers and transformations through actions, diagrams, discussion, and writing.
Table of Contents
Constructing Energy Cube Representations
Sharing Energy Cube Representations
Materials/Handouts:

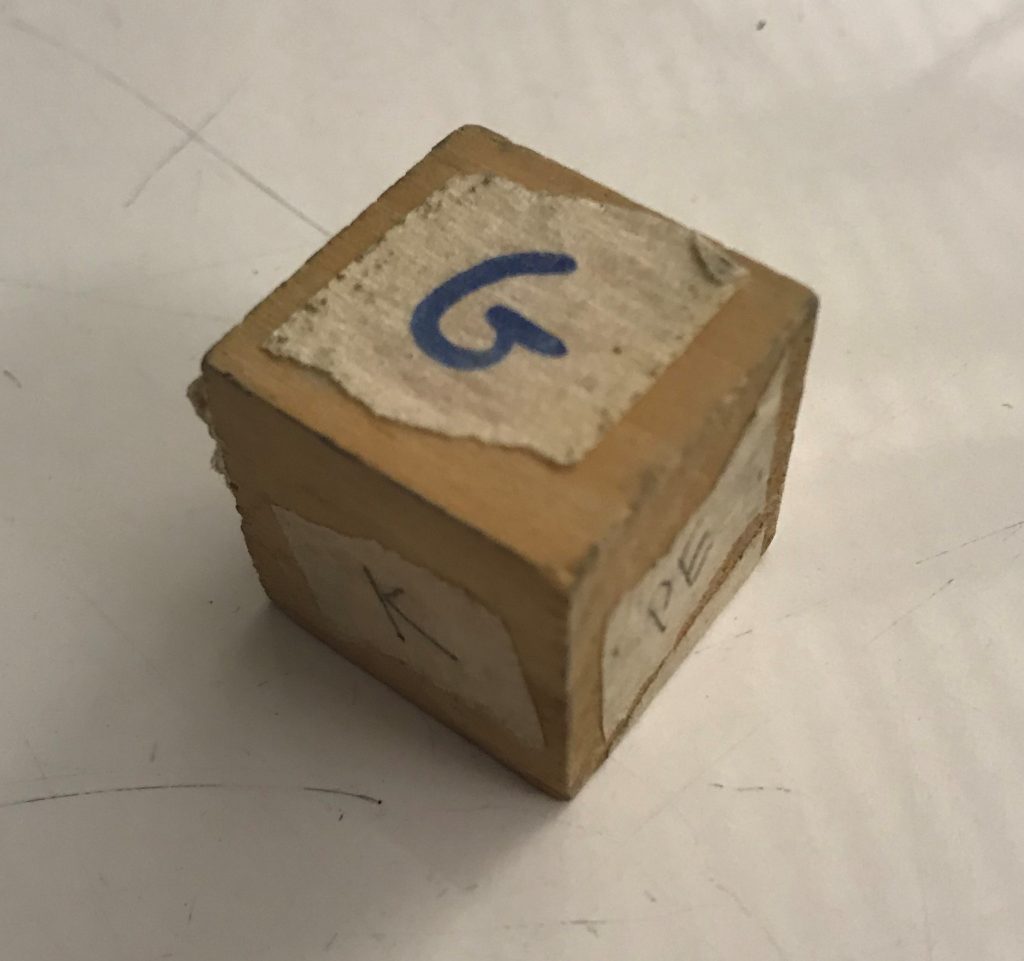
- Small cubes and masking tape (6 – 12 per group). Any cubes will work, the tape allows students to indicate different energy forms on different cube faces. Lucite cubes are more expensive but can be easily written on and erased with dry-erase markers
- If you are unable to access these types of cubes, dice or any cube that has differing faces would work as well. Make sure to define what energy each face represents.
- You can purchase some lucite cubes here.
- Portable whiteboards and dry-erase markers or large sheets of paper and pens
- Larger 2” wooden cubes can be covered with dry-erase tape for whole class discussions
- You can purchase one here. (optional)
- Materials and/or video to demonstrate selected scenarios (optional)
- Action to Writing Worksheet (optional)
- Devices with stop motion video app for recording Energy Cubes
Constructing Energy Cubes Representations
- Choose a scenario – Start with a physical scenario that is both simple and specific. Even a very simple scenario like pushing a box across a floor can raise challenging energy questions for students. We recommend that you test out the energy scenario with Energy Cubes yourself before trying it with students. Even if you already know what the energy is doing you may find that significant questions are foregrounded for you through the process of constructing a dynamic representation. We have included some suggested starter scenarios with instructional notes and associated prevalent student ideas.
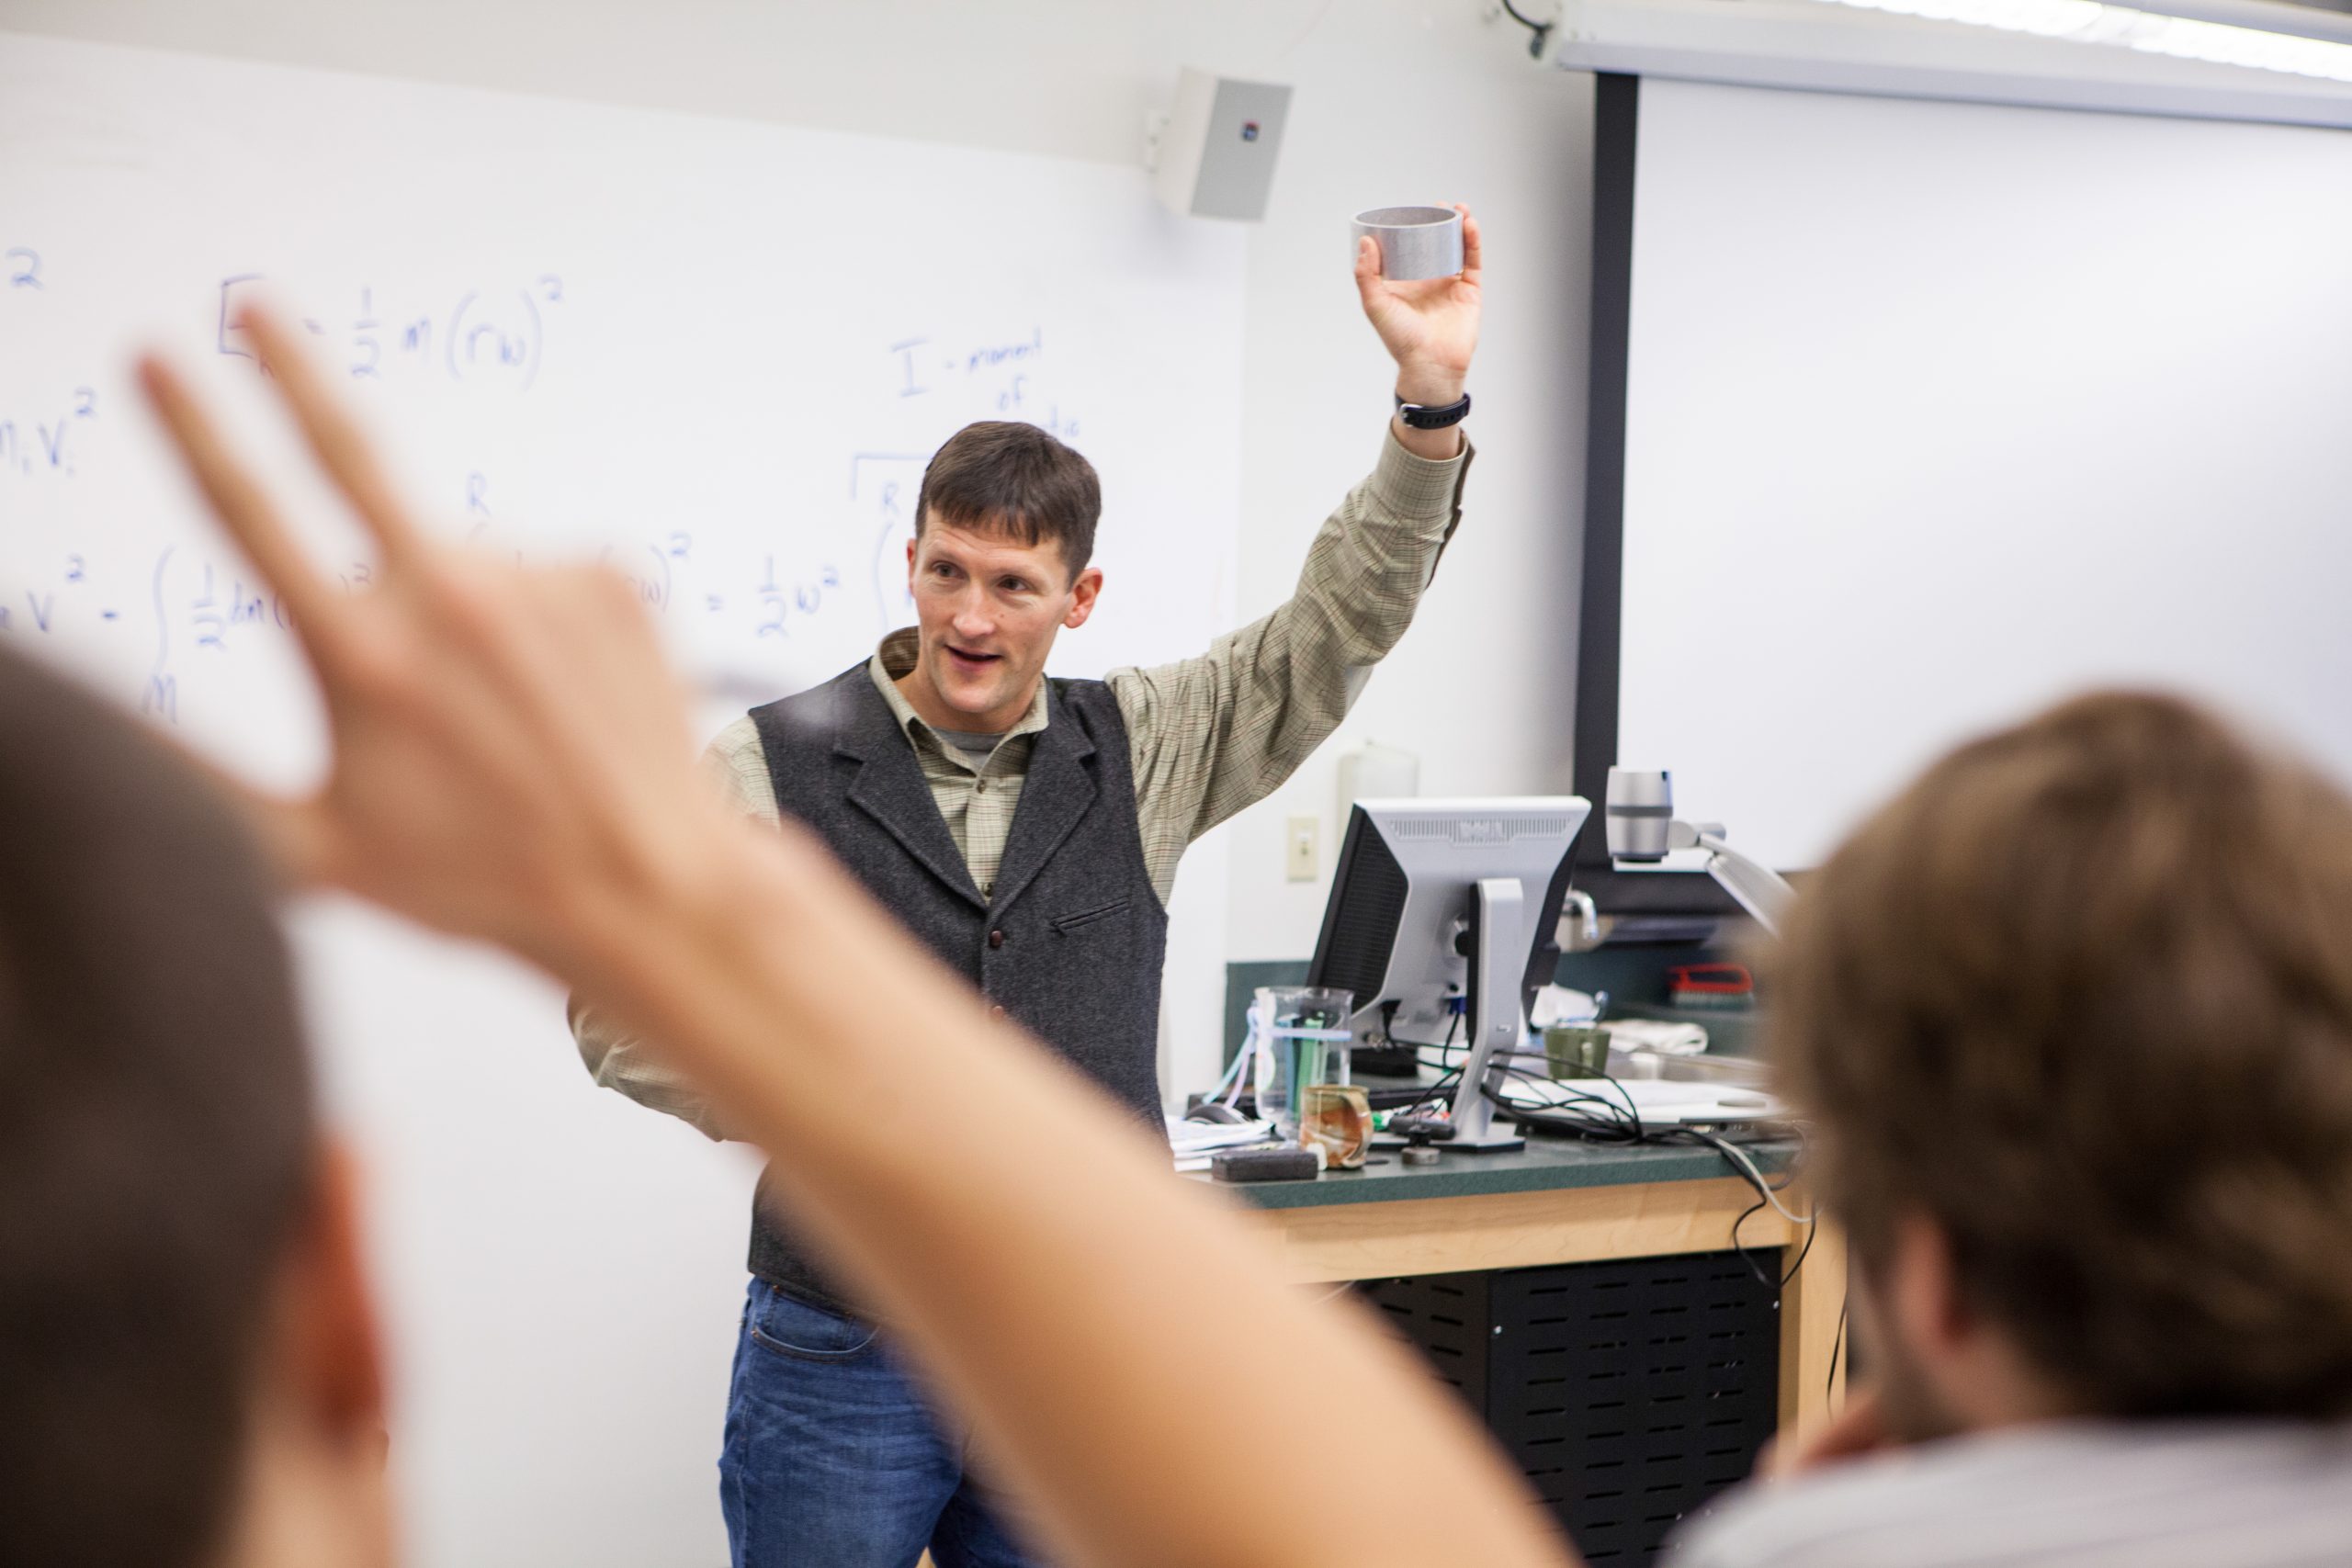
- Introduce the scenario – We encourage you to take some time to ensure that all of your students share an understanding of the physical process that you will explore together[1]. If possible, it is helpful to provide a demonstration of the scenario and allow students to raise questions about the details of the physical process.
- Refine the scenario – When a physical scenario involves a sequence of actions it is helpful to divide the sequence into distinct ‘energy acts’. For example, shooting an arrow could be divided into the pullback act, the launch, the flight act, and the impact act. Students can be encouraged to identify the acts, name each of them, and select a specific beginning and ending moment or snapshot for each act.
- This page has more instructions on how to break a scenario into distinct energy acts.
- Negotiate and enact the energy story – Divide the students into groups of 3 to 4. If students are trying Energy Cubes for the first time, you may decide to begin with one group working in a fishbowl in order to demonstrate the rules. Introduce them to the following rules[2]:
Each cube represents a “chunk” of energy.
The objects in which the energy is contained are represented by designated regions on a whiteboard.
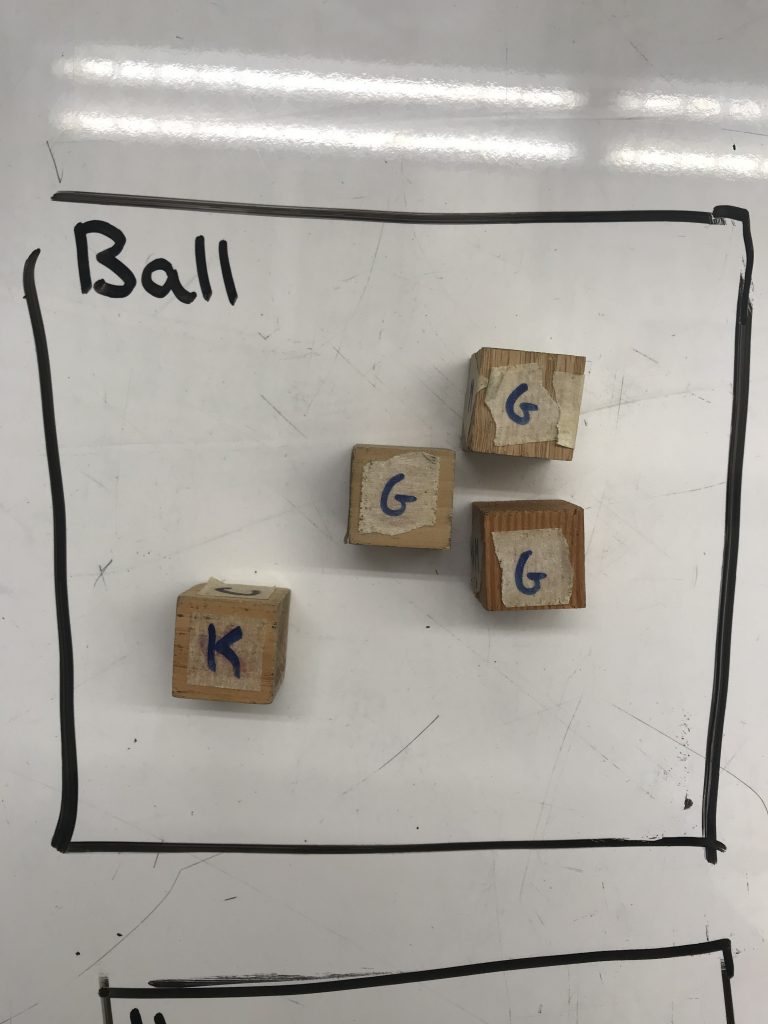
The form of energy that each cube represents must be indicated on the face of the cube that is ‘up’. When the form of energy changes, the cube must be turned to show a different face with a different symbol.
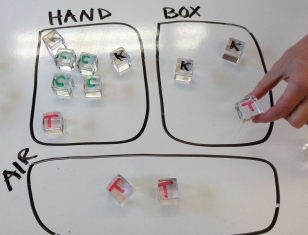
When energy is transferred, a cube must be moved from its original location on the whiteboard (the location that represents the object from which the energy is being transferred) to another location on the whiteboard (the location that represents the object that receives the energy).
Encourage the groups to negotiate how they will act out the energy processes and then to actually act them out.[3] We encourage instructors to find a balance between allowing students the creative license to best express their ideas about the energy processes and helping them raise and negotiate critical conceptual questions. You should expect (and perhaps encourage) lively negotiation and the generation of a wide array of excellent scientific questions during this stage. The instructor can listen to groups, respond to questions, and eventually ask groups to show them their dynamic Energy Cubes representation.
Sharing Energy Cubes Representations
When several groups ‘cube’ the same scenario there will be important differences between their representations. These differences present wonderful opportunities for scientific questioning, argumentation, and consensus-building. We aim to encourage students to share their representations with the expectation that each group of students will raise new questions and insights. We do not aim to assess which group got the ‘right answer.’ Below are a few options for sharing Energy Cubes representations:
- Each group can share their dynamic Energy Cubes representation with the rest of the class. In this approach, students should be encouraged to look for (and possibly write down) differences they notice between the representations. Some students may be hesitant to bring up differences. It is helpful when instructors model asking about differences in a constructive, non-judgemental manner.
- For expedience, choose one group to share their Energy Cubes representation with the whole class. Other students can watch closely and identify any differences between the representation shown and their own representation.
- Students can work in groups to draw a static representation or Energy Tracking Diagram of what they did with their Energy Cubes. These diagrams should show all of the energy transfers and transformations – and the sequence – that occurred during their Energy Cubes representation. When groups have completed their diagrams the entire class can do a gallery walk to compare the diagrams drawn by their classmates. Students can then describe any differences they noticed.
- (Optional) Write about energy processes – Students work individually to construct a written explanation of the energy transfers and transformations that are depicted in their diagram. They can write in their notebooks or journals or use an Action to Writing worksheet.
Affordances of Energy Cubes:
Encourages negotiation and consensus-building – Energy Cubes provides a supportive context for negotiating energy ideas. Students often express their ideas both verbally and by manipulating the cubes.
Encourages attention to energy conservation – Many students in secondary science courses are familiar with energy conservation. A central conceptual challenge in learning about energy is figuring out how energy is conserved in a wide array of dynamic physical processes. This involves answering questions like: Where does the energy start? Where does it go after that? What form does the energy take along the way? Energy Cubes mandates energy conservation because the cubes – which represent units of energy – cannot spontaneously appear or disappear. The students must negotiate where the cubes begin, where and when to move them, and what form they should exhibit along the way.
Balances creativity with representational rigor – The rules of Energy Cubes challenge students to devise a sequence of energy transfers and transformations that satisfy the conservation of energy and correspond to a given physical scenario. Simultaneously, students must make a number of representational choices based on what they think is important to show.
It is possible to alter the energy cube diagram to show the physical environment of the object. Below, this energy cube diagram of a car going down an incline does just that. Feel free to change the representation to suit the classroom and the scenario.

This page is the collection of scenarios to teach students. Select one (or many!) that suits your classroom and learning goals!
[1] A simple description like ‘a ball rolls to a stop’ might lead some students to think of a ball rolling into a wall and others to think of a soccer ball rolling across a grass field.
[2] In addition, we recommend posting them on the board.
[3] Many students appreciate some time for individual contemplation before they begin to negotiate with their peers. You can ask students to write or draw a description of the energy processes in the scenario in their notebooks, journals, 3×5 cards or use an ET worksheet. They can also be encouraged to write down questions that they have about what the energy is doing.
Back to Constructing Energy Cube Representations